Negative Prompting Guide: Preventing Artifacts & Glitches
Ever spent hours making the perfect AI image, only to see it ruined by weird hands or blurry shapes? It’s a big problem for creators who want top-notch results without the usual mistakes.
This negative prompting guide gives you the key tools to avoid unwanted elements. By learning to keep your models away from common errors, you can keep your work clean and professional.
You’ll learn how to get rid of distorted anatomy and unwanted style mistakes. These methods help you refine your workflow and make sure every image matches your vision. Take charge of your digital art today.
Key Takeaways
- Learn how to exclude specific visual errors from your AI generations.
- Master the art of fixing distorted anatomy and strange artifacts.
- Improve the overall clarity and professional quality of your images.
- Gain better control over your creative output by filtering unwanted styles.
- Apply these proven techniques to save time during the editing process.
Understanding the Mechanics of Negative Prompting
When you create art with AI, you explore a vast world of statistical probabilities. These models learn from billions of images, linking visual concepts to text. They often include unwanted elements by default. This is where negative prompting becomes crucial for your creative process.
How AI Models Interpret Negative Constraints
AI models analyze your input by checking the likelihood of certain visual features. When you give a negative prompt, you tell the model to avoid specific mathematical vectors. Instead of adding content, you actively suppress the chance of certain artifacts.
This process is like a filter that cleans your output. The model checks your constraints by:
- Identifying the tokens linked to your negative keywords.
- Lowering the weight of those tokens during the diffusion process.
- Focusing on visual features outside the “forbidden” zones you defined.
The Difference Between Positive and Negative Guidance
Your prompt has two parts. Positive guidance is like the architect, defining the image’s subject, style, and composition. It tells the model what to include in the final image. Without it, the model lacks direction.
Negative prompting is like the editor. While positive prompts build the scene, negative constraints remove the noise, errors, and unwanted textures. Balancing these two gives you precise control over the final image. Learning this balance is key to creating professional, high-quality art.
Essential Negative Prompting Guide for Beginners
Think of negative prompts as the creative guardrails that keep your AI creations focused and professional. By telling the model what you do not want to see, you steer the output toward your vision. This negative prompting guide will help you establish a reliable foundation for your future projects.
Setting Up Your Initial Negative Prompt Library
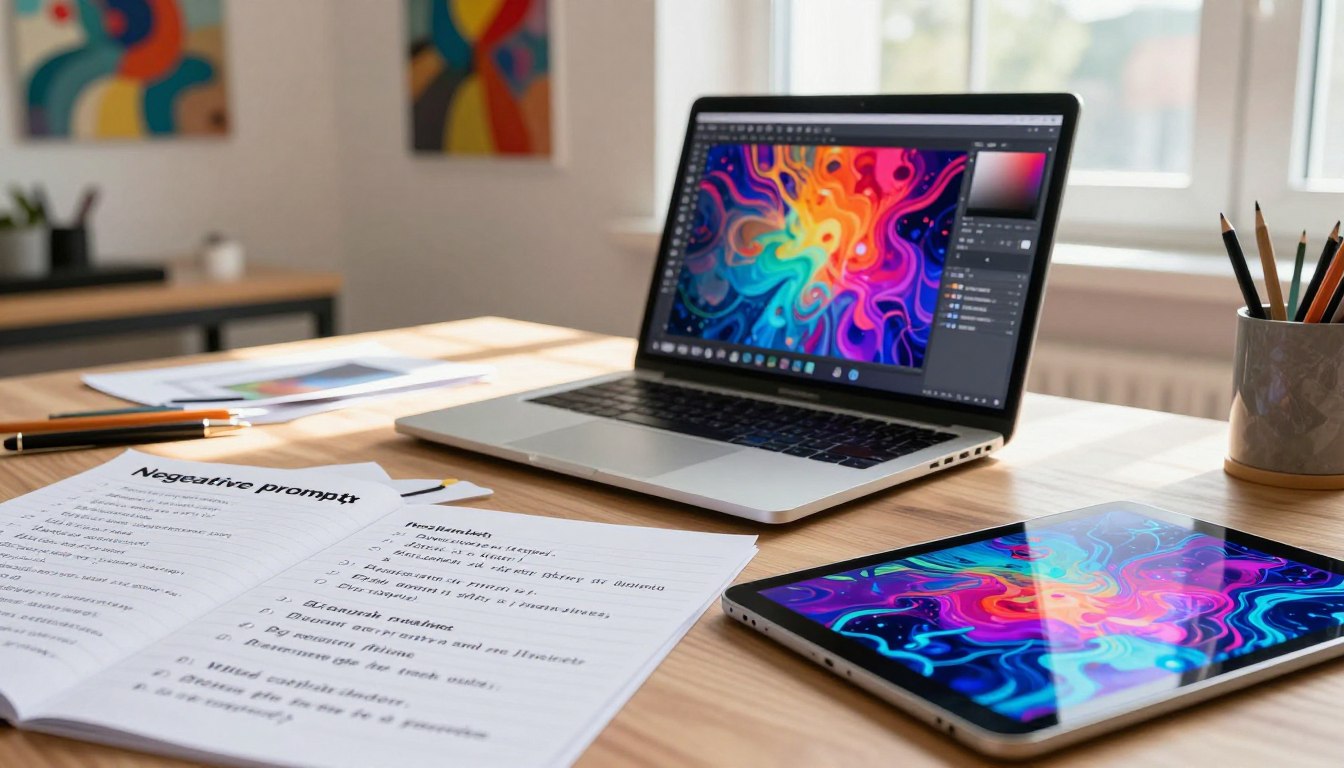
Start by creating a simple text file for your negative constraints. Categorize them by project type, like portraits, landscapes, or abstract art. Having a pre-built library saves time and ensures consistency.
Begin by focusing on common visual flaws in your model. Over time, refine these lists to better suit your style. This organized approach is key for a skilled AI artist.
Common Keywords for General Quality Improvement
To improve image quality, include standard terms that target common technical failures. These keywords act as a filter to remove unwanted artifacts and low-resolution textures. Add these to your negative prompting guide:
- Low quality, blurry, pixelated
- Watermark, text, signature
- Deformed, extra limbs, bad anatomy
- Out of frame, cropped, low resolution
Avoiding Over-Prompting and Model Confusion
It’s tempting to list every possible flaw, but over-prompting can confuse the AI model. Too many negative tokens can make the model struggle to follow your instructions. This often leads to unpredictable results or a loss of artistic detail.
Keep your negative prompts concise and relevant to the specific image you are generating. If the output looks washed out or strange, try removing a few of your least important negative terms. Balance is key to achieving the perfect render every time.
Identifying Common Artifacts and Glitches
Spotting AI errors is key to getting professional results. Knowing why a model fails helps you fix your output. This skill lets you control your creative work better.
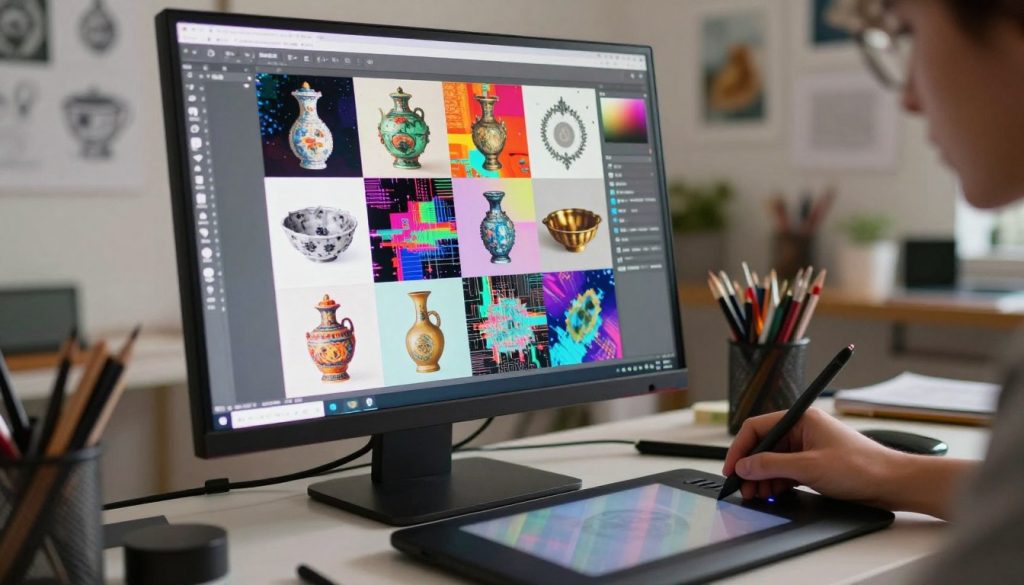
Anatomy of Anatomical Errors in AI Art
AI models often get human body geometry wrong. You’ll see distorted joints or limbs that bend in weird ways. This is because the model doesn’t really get skeletal structure.
- Extra limbs: Fingers or legs where they shouldn’t be.
- Morphological glitches: Faces that seem to melt or blend with the background.
- Joint misalignment: Elbows or knees in the wrong spot on the body.
Recognizing Texture and Lighting Artifacts
Watch out for texture and lighting issues too. Blurry backgrounds or pixelated textures show depth problems. Spotting these early helps fix your work.
Lighting errors can mess up a great image. You might see wrong light sources or unnatural highlights that look like digital noise. These come from mixed prompts about the scene’s mood.
Detecting Style Bleed and Color Inconsistencies
Style bleed occurs when the model mixes two styles. You might see a realistic portrait with oil painting strokes in one area. This jarring mix takes away from your main subject.
Color issues are common too. The color palette might change suddenly, making the image look patchy. Paying attention to these details keeps your image looking consistent and polished.
Step-by-Step Workflow for Clean Renders
Mastering clean renders is all about a structured process. A consistent workflow makes your creative projects easier. It ensures you get professional results every time.
Step 1: Analyzing Your Base Prompt for Potential Conflicts
Start by examining your main prompt carefully. Look for terms that might confuse the model. For example, asking for both “minimalist” and “highly detailed” styles at once.
Spotting these conflicts early helps the AI. Clear, concise base prompts are key to a strong foundation for your final image.
Step 2: Applying Baseline Negative Prompts for Quality
After setting your base prompt, add a set of negative keywords. These keywords help avoid common mistakes. Use separated by commas and list them in order of importance.
- Begin with broad quality terms like “blurry, low quality, distorted.”
- Include specific anatomical exclusions for human figures.
- Put your most critical negative tokens first to guide the model effectively.
Step 3: Iterative Testing and Refinement Cycles
Don’t expect perfection right away. Use a testing cycle to see how your negative keywords affect your image.
If a glitch won’t go away, tweak your negative prompt or change the order of your tokens. Small changes can make a big difference in your clean renders.
Step 4: Finalizing the Prompt for High-Resolution Upscaling
Once you have a good base image, get ready for upscaling. High-resolution images can highlight glitches, so your negative prompt needs to be strong.
Double-check your final prompt to remove any unnecessary tokens. A clean, optimized prompt is crucial for clean renders that look sharp and professional.
Advanced Techniques for Complex Composition
Mastering complex compositions is more than just using a positive prompt. To get professional-grade results, you need to avoid common mistakes. By using specific negative constraints, you can get clean renders that are clear and focused.
Using Negative Prompts to Control Depth of Field
Getting the right depth of field is key for a professional look. You can use negative prompts to avoid flat, uniform focus. Add terms like “flat focus” or “deep depth of field” to your negative library.
This method makes your subject stand out against a soft, blurred background. It gives you the artistic control to create high-end photography. Try different negative weights to get a cinematic look.
Preventing Object Duplication and Merging
Duplicating subjects or merging limbs is a common AI art problem. To avoid this, list unwanted traits in your negative prompt. Use terms like “extra limbs,” “duplicate subjects,” or “merged objects.”
This is especially helpful in crowded scenes or complex poses. It keeps your main subject clear and correct. Consistency is key for detailed, layered compositions.
Managing Background Clutter and Noise
Background noise can pull your focus away from the main subject. Use negative prompts to remove unwanted visual elements. Target “cluttered background,” “visual noise,” or “distracting textures.”
This is crucial for those who want clean renders in every project. Removing distractions lets the viewer focus on your story. With these advanced techniques, you can handle even the toughest generation challenges.
Managing Weighting and Syntax in Negative Prompts
Learning the syntax of negative prompting is crucial for top-notch AI images. It lets you control how the model sees your exclusions. This control leads to cleaner and more consistent results in your work.
Understanding Prompt Weighting Syntax in Stable Diffusion
In many AI tools, you can tweak term importance with parentheses. For example, (word:1.2) makes a word more important. On the other hand, (word:0.8) makes it less important.
This syntax is key for improving your negative prompting skills. It helps the model focus on what you want to exclude and ignore the rest. Try different values to match your artistic style.
Balancing Negative Weights for Subtle Adjustments
Using very high weights can cause model collapse or weird images. Start with small changes instead. If your image still has unwanted parts, increase the weight a little at a time.
This method helps avoid over-correcting and losing your image’s essence. Strategic weighting keeps your subject clear while removing unwanted parts. Testing often is the best way to get these fine-tuned adjustments right.
The Impact of Token Order on Negative Guidance
The order of your keywords in the prompt matters a lot in negative prompting. AI models give more weight to terms at the start. If a problem persists, try putting that keyword first.
Moving a keyword to the start can make the model focus more on excluding it. This way, your main requirements are met first. This approach is a powerful tool for digital artists.
| Weighting Method | Effect on Output | Best Use Case |
|---|---|---|
| Standard (No Weight) | Baseline exclusion | General quality cleanup |
| Increased (1.2+) | Stronger avoidance | Removing persistent artifacts |
| Decreased (0.8-) | Subtle influence | Fine-tuning textures |
| Token Reordering | Priority shift | Fixing structural errors |
Troubleshooting Persistent Visual Errors
If your renders keep showing mistakes, these tips can help you fix them. Even top AI models sometimes make visual errors that need your help. Learning how to remove artifacts is key for top-notch AI images.
Addressing Persistent Morphological Glitches
Morphological glitches show up as weird shapes or impossible geometry. To solve these, find the structural conflict in your prompt. Sometimes, the model can’t handle complex scenes, causing distortions.
Try making your scene description simpler. This reduces the model’s workload. Isolate your subject from the background to fix these errors. Use negative weighting on words like “deformed” to get cleaner shapes.
Fixing Distorted Facial Features and Hands
Facial features and hands are common AI errors. Focus on fixing these with artifact removal. Add details like “detailed eyes” or “properly formed fingers” to your prompt.
If problems persist, try lowering the guidance scale. This lets the model be more creative. Subtle adjustments to your prompt can also help. Place important details first for better results.
Handling Unwanted Text and Watermarks
Unwanted text and watermarks can spoil your image. Some models need special fields for this, while others like DALL-E 3 use natural language instructions. Clearly state “no text, no watermarks, no signatures” in your prompt.
The table below shows how to tackle common errors on different platforms:
| Error Type | Primary Strategy | Model Compatibility |
|---|---|---|
| Morphological Glitches | Simplify geometry | All Models |
| Facial Distortion | Anatomical descriptors | Stable Diffusion/Flux |
| Unwanted Text | Natural language exclusion | DALL-E 3 |
| Watermarks | Negative prompt weighting | Stable Diffusion |
By using these specific methods, you can keep your images clean and professional. Regular artifact removal is crucial for high-quality AI images.
Optimizing Negative Prompts for Specific Models
Improving your results starts with tailoring your negative prompting to the model you’re using. Each AI model processes data in its own way. A one-size-fits-all list of constraints often doesn’t work best. Knowing these differences helps you keep your creative vision consistent across different platforms.
Tailoring Prompts for Stable Diffusion XL
Stable Diffusion XL (SDXL) is very sensitive to the order and weight of your tokens. When using negative prompting with SDXL, put the most important quality-degrading terms first. SDXL does best with short, clear tags rather than long sentences that might confuse it.
Adapting Negative Strategies for Midjourney V6
Midjourney V6 works differently, preferring natural language over strict keyword lists. You can still use negative prompting to exclude unwanted elements. But, the model likes clear, direct instructions. Describe what you want to avoid naturally to get the best results.
Best Practices for Flux and Newer Architectures
Newer models like Flux are made for better prompt adherence. This means you might need fewer negative terms. Always test your prompts to see if they’re helping or limiting the model’s creativity.
Tools like LTX Studio now make it easy to use these strategies in your work. By adding your negative prompting to your workflow, you get a smooth experience. This streamlined approach keeps your visuals high as you work with different media and AI updates.
Conclusion
Improving your AI image generation skills makes it a reliable art form. You learn to remove unwanted parts with precision. This lets you control your digital canvas fully.
Switching from trial and error to a structured method saves a lot of time. You spend less time fixing problems and more time exploring new ideas. Your skills in creating high-quality images grow as you use tools like Stable Diffusion or Midjourney.
Being consistent is key for a professional creator. You create a unique style by choosing the right negative prompts. Keep trying new combinations to see how different models respond.
Your creative journey gets better with each image you make. Share your findings with others to help them understand generative art better. Stay curious and keep exploring what your AI tools can do.
FAQ
What exactly is negative prompting and why is it necessary for AI generation?
Negative prompting is a way to remove unwanted images from huge AI training datasets. It works alongside your positive prompt to define what you want. The negative prompt acts as a guide, telling the model what to avoid. This helps create clean images without unwanted visual noise.
How can I achieve effective artifact removal for common anatomical errors?
To fix “extra limbs,” “distorted anatomy,” or “blurry hands,” list these issues in your negative prompt. This tells the model to focus on correct anatomy. It ensures your images are professional and accurate.
What are the risks of over-prompting in the negative field?
Too many prompts can confuse the AI, leading to unpredictable images. If you add too many conflicting terms, the model might struggle. This can cause style bleed or uneven lighting, ruining your image quality.
How does token order affect the way Stable Diffusion XL or Flux processes my exclusions?
AI models focus more on the first terms in a prompt. Place your most important exclusions first for best results. This ensures they are processed with the highest priority.
Can I use negative prompts to manage complex compositions and depth of field?
Yes, you can. Advanced users can use negative prompts to avoid “object duplication” and “merging” in complex scenes. By excluding “blurry background” or “shallow depth of field,” you control focus and background clutter.
How do negative prompting strategies differ between Midjourney V6 and DALL-E 3?
Midjourney V6 uses specific syntax for exclusions, while DALL-E 3 doesn’t have a dedicated negative prompt field. For OpenAI’s model, use natural language in your main prompt to avoid unwanted elements.
What is the best workflow for refining a prompt for high-resolution upscaling?
Start by checking your base prompt for conflicts. Then, use a basic set of negative prompts. Test and refine your prompt to fix small issues like color or texture problems. This ensures clean images when upscaling with tools like LTX Studio.